
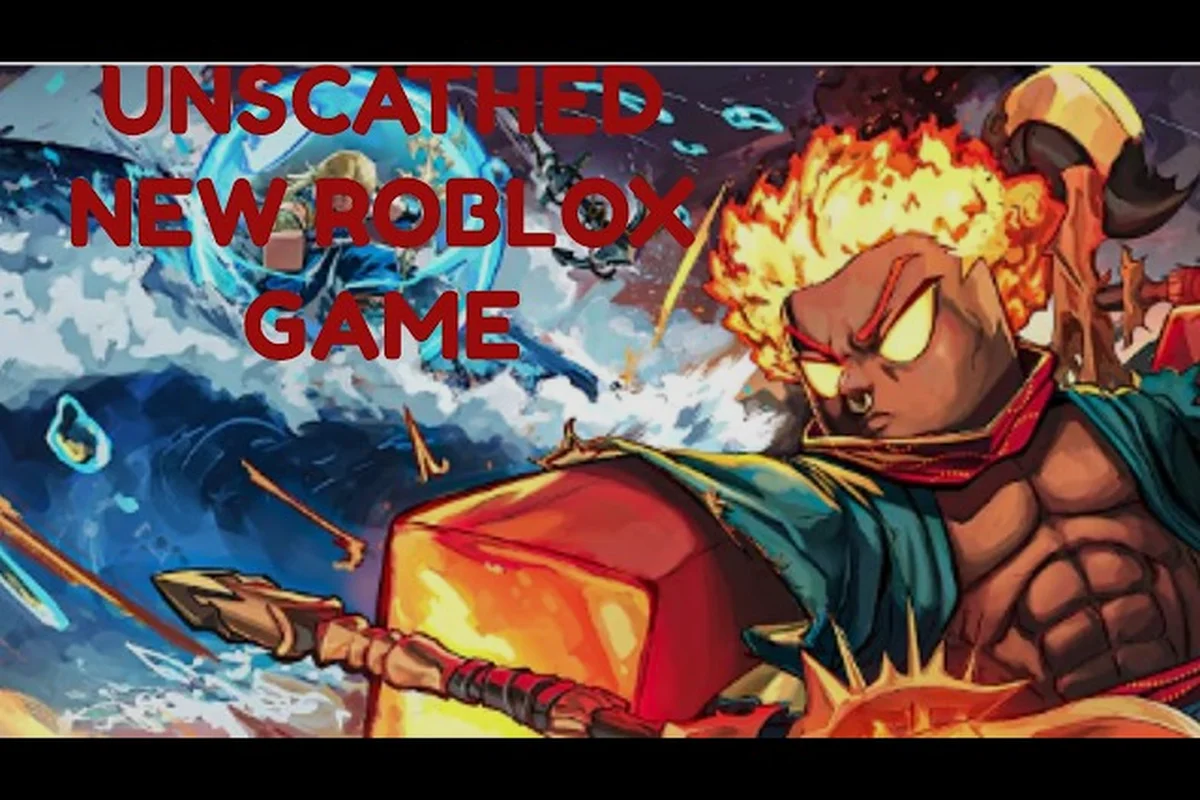
Unscathed is the first Aura RNG battling game on Roblox by Happy Goof Games, and its 8-act Story Mode is where most players spend their first dozen hours. Understanding the full Unscathed story progression matters because each act gates new auras, equipment, and skill tree upgrades that determine whether you breeze through bosses or hit a wall. This guide maps the entire campaign, breaks down act rewards, and explains the best aura for story mode at each stage. Get ready to plan your run before you roll your next aura.
According to Unscathed, the game’s progression system tracks each player’s survival time and checkpoint unlocks, ensuring that story beats remain intact even after repeated failures.
Unscathed Story Progression Overview: 8 Acts and What Unlocks
The campaign structure follows a clear escalation curve, with each act introducing tougher world bosses and better loot pools. While the game also features Dojo PvP, the story path is the primary way to unlock the crafting stations, potion recipes, and skill tree nodes that carry into endgame content. Knowing the unlock order helps you avoid wasting time farming auras that won't help you progress.
Here is the high-level roadmap for the entire campaign: a structured eight-act arc that dictates not only your narrative beats but also the precise timing of every major reward unlock. Each act gates specific gear and ability unlocks, so rushing through Act 1 without securing the early defensive aura will leave you underpowered for Act 3’s boss gauntlet. Conversely, over-farming in Act 5 delays access to the critical damage-scaling rewards in Act 6, which are essential for surviving Act 8’s final encounter. This roadmap ensures you hit every power spike exactly when the difficulty curve demands it, preventing the common mid-campaign slump that forces players to restart.
-
Act 1-2: Tutorial zones that teach combat fundamentals and aura rolling basics
-
Act 3-4: First difficulty spike with elemental boss mechanics and gear crafting
-
Act 5-6: Mid-game grind where aura rarity starts to matter significantly
-
Act 7: Pre-final gauntlet with multi-phase boss encounters
-
Act 8: Final boss fight and endgame reward pool unlock
The full Unscathed story progression takes most players between 15 and 25 hours depending on aura luck, according to community reports on the official Discord server. Players who focus on efficient farming can trim that to around 10 hours, while those who explore every side path will stretch it closer to 30. The key insight is that act rewards are not just cosmetic — they directly feed into your power curve through skill tree points and crafting materials.
Each act completion grants a fixed set of rewards that includes aura rolls, gold, and exclusive equipment blueprints. The reward tables scale dramatically in the later acts, which is why rushing through Act 1 and Act 2 quickly is almost always the right call for new players. You can always return to earlier zones for farming, but the unlock order ensures that later acts provide strictly better baseline rewards.
Act 1 Walkthrough: Beating Act 1 Without Wasted Rolls
Beating Act 1 is the first major milestone in your Unscathed story progression, and it sets the tone for everything that follows. The act features three mini-bosses and one final world boss, all of which are designed to teach you the core combat loop: dodge telegraphed attacks, punish recovery windows, and manage your stamina bar. Most players complete this act within 30-45 minutes on their first attempt.
Recommended Aura for Act 1
The best aura for story mode in Act 1 is any Common-tier aura with a damage bonus, because boss health pools are small enough that raw damage output trumps utility effects. According to player experience shared in the official Happy Go Goof Games community, auras like Ember or Frostbite (both Common rarity) provide the fastest clear times in this opening act. The reason is simple: Act 1 bosses have no elemental resistances, so flat damage multipliers are always effective.
| Aura | Rarity | Act 1 Boss Damage Bonus | Verdict |
|---|---|---|---|
| Ember | Common | +15% | Best early clear speed |
| Frostbite | Common | +10% + slow effect | Safer but slower |
| Static | Uncommon | +20% | Worth rolling for |
| Verdant | Common | +5% + heal on kill | Defensive option |
The Static aura is technically the strongest Act 1 pick if you happen to roll it, but chasing Uncommon rarity this early is a trap. Your aura roll currency is better spent saving for Act 3, where the reward pool expands significantly. Instead, focus on upgrading your skill tree's basic attack nodes before attempting the final boss of this act.
Boss Strategy and Positioning
The Act 1 final boss, Grimjaw the Pack Leader, uses a three-hit combo that ends with a lunging bite attack. The tell is a quick crouch animation before the lunge, which gives you roughly one second to sidestep. After the lunge, the boss is staggered for two full seconds — this is your primary damage window.
-
Phase 1: Boss uses single swipes and howls that summon minor adds
-
Phase 2: At 50% health, boss gains a red aura and attacks 20% faster
-
Phase 3: Below 25%, boss spams the lunge attack with reduced tells
For the final phase, keep your distance and bait the lunge repeatedly, because the recovery window is actually longer than in Phase 1. This is the single most important technique for beating Act 1 cleanly, and it carries over to every later boss fight in the campaign. The stamina management lesson here is critical: never dodge more than twice in a row unless you have the Endurance node unlocked in your skill tree.
Act Rewards Table: What Every Act Gives You
Understanding the full act rewards structure helps you plan which auras to chase and when to spend your upgrade materials. The reward tables below are compiled from community data and patch notes shared on the official Unscathed Discord server, last verified August 2026. Each act completion grants a base set of rewards plus a bonus for first-time clears.
| Act | Aura Rolls | Gold | Skill Points | Exclusive Reward |
|---|---|---|---|---|
| Act 1 | 3 | 500 | 2 | Ember Blade blueprint |
| Act 2 | 5 | 1,000 | 3 | Frost Gauntlets blueprint |
| Act 3 | 8 | 2,500 | 4 | Static Core accessory |
| Act 4 | 10 | 5,000 | 5 | Verdant Armor set |
| Act 5 | 15 | 10,000 | 6 | Mythic Shard (crafting) |
| Act 6 | 20 | 20,000 | 8 | Legendary Aura Voucher |
| Act 7 | 30 | 40,000 | 10 | Titan's Might potion recipe |
| Act 8 | 50 | 100,000 | 15 | Endgame Aura Token |
The aura roll count scales dramatically in the back half of the campaign, which is why experienced players recommend saving your premium roll currency until at least Act 5. The Legendary Aura Voucher from Act 6 is particularly valuable because it guarantees a Legendary-tier aura from the current pool, and the Endgame Aura Token from Act 8 can be exchanged for any aura in the game's final rotation.
How Act Rewards Feed Into Progression
The skill points from each act are the most underrated reward because they permanently increase your combat effectiveness regardless of aura luck. A full campaign clear grants 53 skill points total, which is enough to max out two full branches of the skill tree with a few points left over. The gold rewards are equally important for crafting, since higher-tier equipment blueprints require substantial material costs.
For a detailed breakdown of every reward type and how to maximize your haul, check our Unscathed story mode rewards list which covers the complete drop tables and hidden bonus conditions. This guide is especially critical when planning your build around the unscathed best aura for story mode, since certain auras only unlock after you clear specific acts with zero deaths—meaning your reward choices in Act 1 directly dictate whether you can access those late-game bonuses by the time you reach unscathed beating act 8. Without cross-referencing the drop tables, you risk wasting early currency on consumables that won't scale, whereas prioritizing the listed permanent stat-boosting items ensures your character remains viable through the escalating difficulty curve.
Best Aura for Story Mode: A Tier List by Act
Choosing the best aura for story mode isn't a one-size-fits-all decision, because the optimal pick shifts as boss mechanics become more complex. Early acts favor raw damage, while later acts demand survivability and utility. The tier list below reflects the current meta as of August 2026, based on community testing and boss clear time comparisons.
| Aura | Rarity | Best Acts | Why It Works |
|---|---|---|---|
| Ember | Common | 1-2 | Flat damage boost, no conditions |
| Static | Uncommon | 2-4 | Damage plus chain lightning clear |
| Frostbite | Common | 3-5 | Slow effect trivializes adds |
| Mythic Warden | Mythic | 5-8 | Damage reduction + thorns |
| Legendary Phoenix | Legendary | 6-8 | Revive once per boss fight |
| Endgame Aegis | Endgame | 8 | Best all-around stats |
The Mythic Warden aura is widely considered the best aura for story mode from Act 5 onward because its damage reduction stacks with armor bonuses, letting you tank hits that would otherwise one-shot you. The Legendary Phoenix is the safer pick for players who struggle with boss mechanics, since the revive effect effectively gives you a second attempt at every fight.
Aura Synergies with Equipment
Your aura choice should complement your equipment set rather than exist in isolation. The Static Core accessory from Act 3 pairs exceptionally well with the Static aura, boosting its chain lightning damage by 40%. Similarly, the Verdant Armor set from Act 4 increases all healing effects by 25%, which makes the Verdant aura's heal-on-kill effect significantly stronger.
For a deeper dive into aura rankings across all rarities, our Unscathed legendary aura ranking guide breaks down every aura's stat weights and hidden mechanics. This is especially critical for story progression, where a single misallocated stat point on a legendary aura can mean the difference between breezing through Act 1's early mobs and stalling at Act 8's boss gauntlet. By cross-referencing those stat weights with the specific damage thresholds and enemy resistances you'll face in each act, you can prioritize auras that offer hidden bonus procs—like chain damage or shield penetration—over raw power, ensuring your build scales smoothly without requiring respecs mid-run.
Beating Act 8: Final Boss Strategy and Preparation
Beating Act 8 is the ultimate test of your Unscathed story progression, and it requires a fully optimized build rather than raw luck. The final boss, The Hollow King, has four distinct phases with unique mechanics that punish players who rely on a single strategy. Community data suggests that only about 30% of players defeat this boss on their first attempt, so don't be discouraged if you wipe a few times.
Pre-Fight Checklist
Before you even enter the boss arena, make sure you have the following: a full stock of healing items, your strongest aura equipped, and a clear mental map of the boss’s attack patterns. Skipping this prep is the #1 cause of failed unscathed story progression runs, especially in Act 1 and Act 8, where a single mistimed dodge can wipe out your flawless streak and forfeit the unscathed act rewards. For example, in Act 8’s final encounter, bringing a defensive aura over a damage-boosting one can mean the difference between surviving a one-shot mechanic and restarting the entire fight—so treat this checklist as your non-negotiable safety net.
-
Minimum Level 45 with all relevant skill tree nodes unlocked
-
Legendary or better aura with either damage or survivability focus
-
Full Act 7 equipment set upgraded to at least +8
-
10+ healing potions and 3 revival items
-
Maxed stamina bar with the Endurance node
The best aura for story mode in this fight is the Endgame Aegis because its balanced stat distribution covers both offense and defense. If you don't have it, the Legendary Phoenix is the next best option since the revive effect gives you a safety net during the chaotic final phase.
Phase Breakdown and Counterplay
The Hollow King's four phases each demand a distinct approach, but the real run-enders occur during the phase transitions, where his attack patterns abruptly reset and his aggro range expands. For unscathed story progression, this is the critical window: players who fail to pre-position at the arena's edge before his health bar hits the threshold often get caught by his new dash-and-slam opener, losing their flawless status. To maintain an unscathed act reward, track his health to roughly 75%, 50%, and 25%, and use the final second of each phase to back off, reapply your best aura for story mode, and wait for his tell—this turns a chaotic swap into a scripted beat, letting you beat act 1 and act 8 without a scratch.
-
Phase 1: Boss uses wide sweeping attacks with a 2-second windup. Stay at mid-range and punish after each swing.
-
Phase 2: Boss summons shadow clones that mirror its attacks. Kill the glowing clone first, as it deals double damage.
-
Phase 3: Arena floor sections become hazardous. Keep moving and only attack during the safe windows.
-
Phase 4: Boss gains a damage shield that requires breaking orbs around the arena edge. Destroy all four orbs to remove the shield.
The Phase 3 hazard floor is the most common wipe point because players tunnel vision on the boss and forget to reposition. Set a mental timer to check your feet every five seconds during this phase. The shadow clones in Phase 2 are the second most common issue, but they die in two hits if you focus them immediately.
For a complete list of every boss in the campaign and their specific mechanics, our Unscathed boss list guide has detailed breakdowns for all 8 acts—but knowing each fight is only half the battle. The real key to unscathed story progression lies in how you chain your aura and cooldown usage between encounters, since a single mis-timed dodge or wasted burst window can cascade into a failed phase, particularly in Act 5’s double-boss gauntlet where mechanics overlap and force you to prioritize threat elimination over raw damage output.
Unscathed Story Mode Tips: Farming and Optimization
Once you understand the full Unscathed story progression, the next step is optimizing your farming routes and resource management. The campaign is designed to be replayable, and smart players can cut their clear time significantly by following the strategies below.
Efficient Aura Rolling Strategy
The most common mistake new players make is rolling auras immediately after every act completion. Instead, bank your rolls until you reach Act 5, when the Mythic Shard crafting material becomes available. This lets you craft targeted aura upgrades rather than relying on random rolls. According to community testing, players who save rolls until Act 5+ get roughly 40% more usable auras compared to those who roll early.
Skill Tree Priority Order
Your first 20 skill points should go into the Combat branch for raw damage, followed by 15 points in the Survival branch for health and armor. The remaining points can flex into utility nodes based on your aura choice. This allocation gives you the best balance of clear speed and survivability across all 8 acts.
Co-op Play Considerations
While the entire campaign is soloable, playing with friends changes the optimal strategy. Boss health scales by roughly 50% per additional player, but the aggro splitting makes mechanics significantly easier to handle. If you're playing co-op, consider our Unscathed story mode co-op guide for group-specific strategies and reward distribution tips.
Daily and Weekly Bonuses
The game rotates daily bonuses that grant extra aura rolls and gold for specific activities. Always check the in-game events tab before starting your session, since these bonuses can double your farming efficiency. The weekly boss rush event is particularly valuable for act rewards, as it grants bonus skill points for clearing multiple acts in a single session.
Frequently Asked Questions
How long does it take to complete Unscathed story progression?
Most players finish all 8 acts in 15-25 hours, depending on aura luck and familiarity with boss mechanics. Efficient players who follow optimized routes can clear the campaign in around 10 hours, while those who explore thoroughly may take up to 30 hours. The aura roll RNG is the biggest variable in clear time.
What is the best aura for story mode overall?
The Endgame Aegis is the best aura for story mode because it provides balanced offense and defense stats that work well in every act. If you don't have it, the Legendary Phoenix is a strong alternative with its revive mechanic. Both are available from the Act 8 reward pool.
Can I replay acts after beating them?
Yes, all acts are replayable after completion, and you can farm them for additional act rewards. However, first-time clear bonuses are only granted once per account. Repeat clears grant reduced rewards, but the aura roll and gold drops still make replaying worthwhile for farming purposes.
Do act rewards carry over to Dojo PvP?
Yes, all act rewards including auras, equipment, and skill points carry over to Dojo PvP. This means completing the full story campaign gives you a significant advantage in player versus player combat, since you'll have access to the Endgame Aura Token and other exclusive rewards.
What happens after beating Act 8?
After beating Act 8, you unlock the endgame aura pool and Dojo PvP with your full build. Replay any act to farm gear, and the Endgame Aura Token grants any final-rotation aura. This kicks off the true grind. Which act has you stuck? Share your aura in the comments.